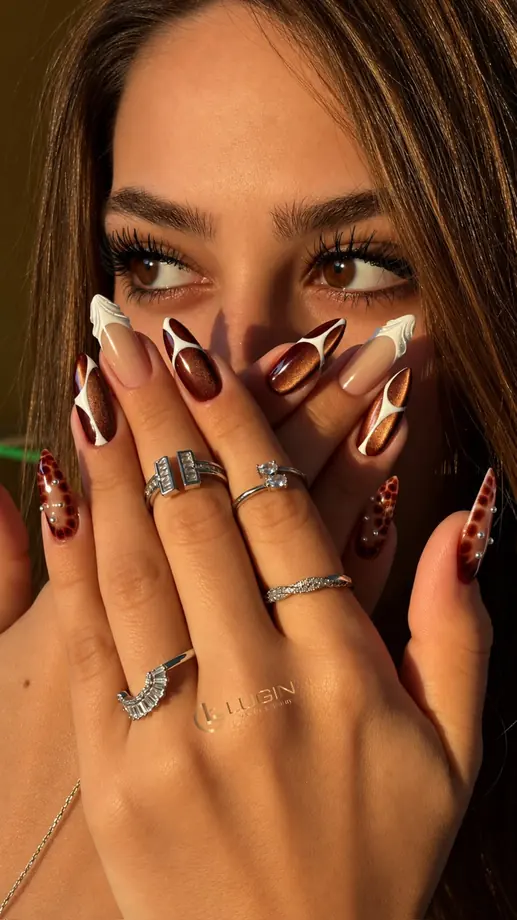
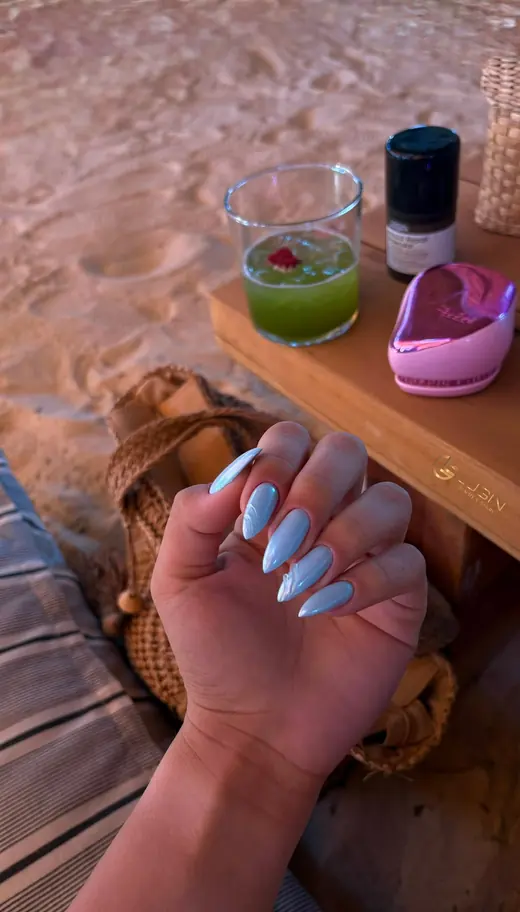
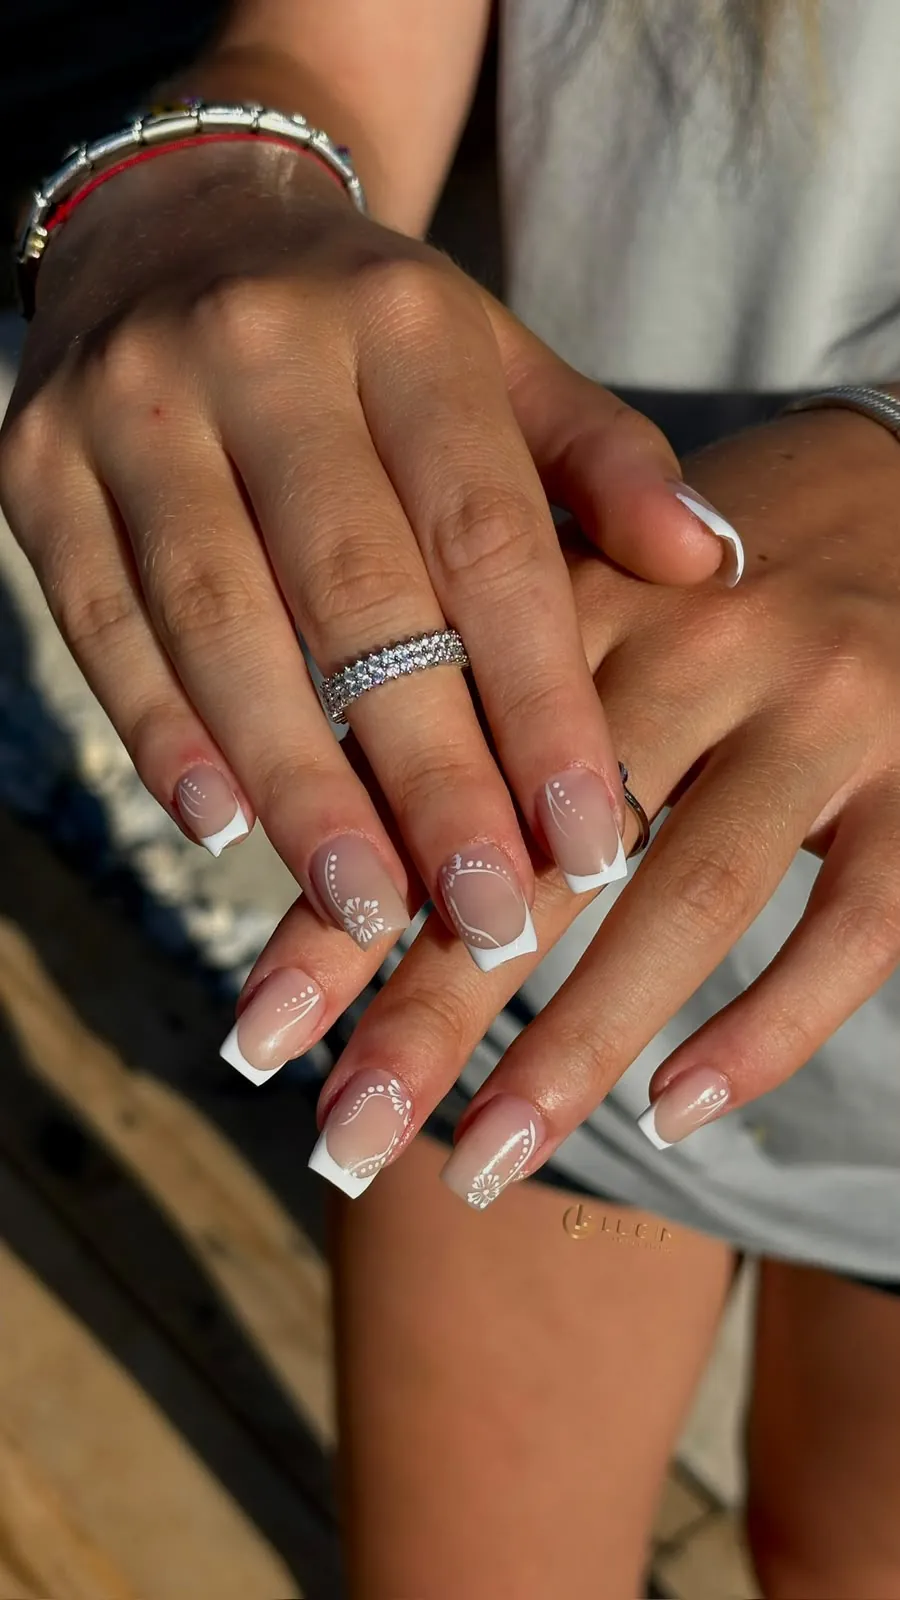
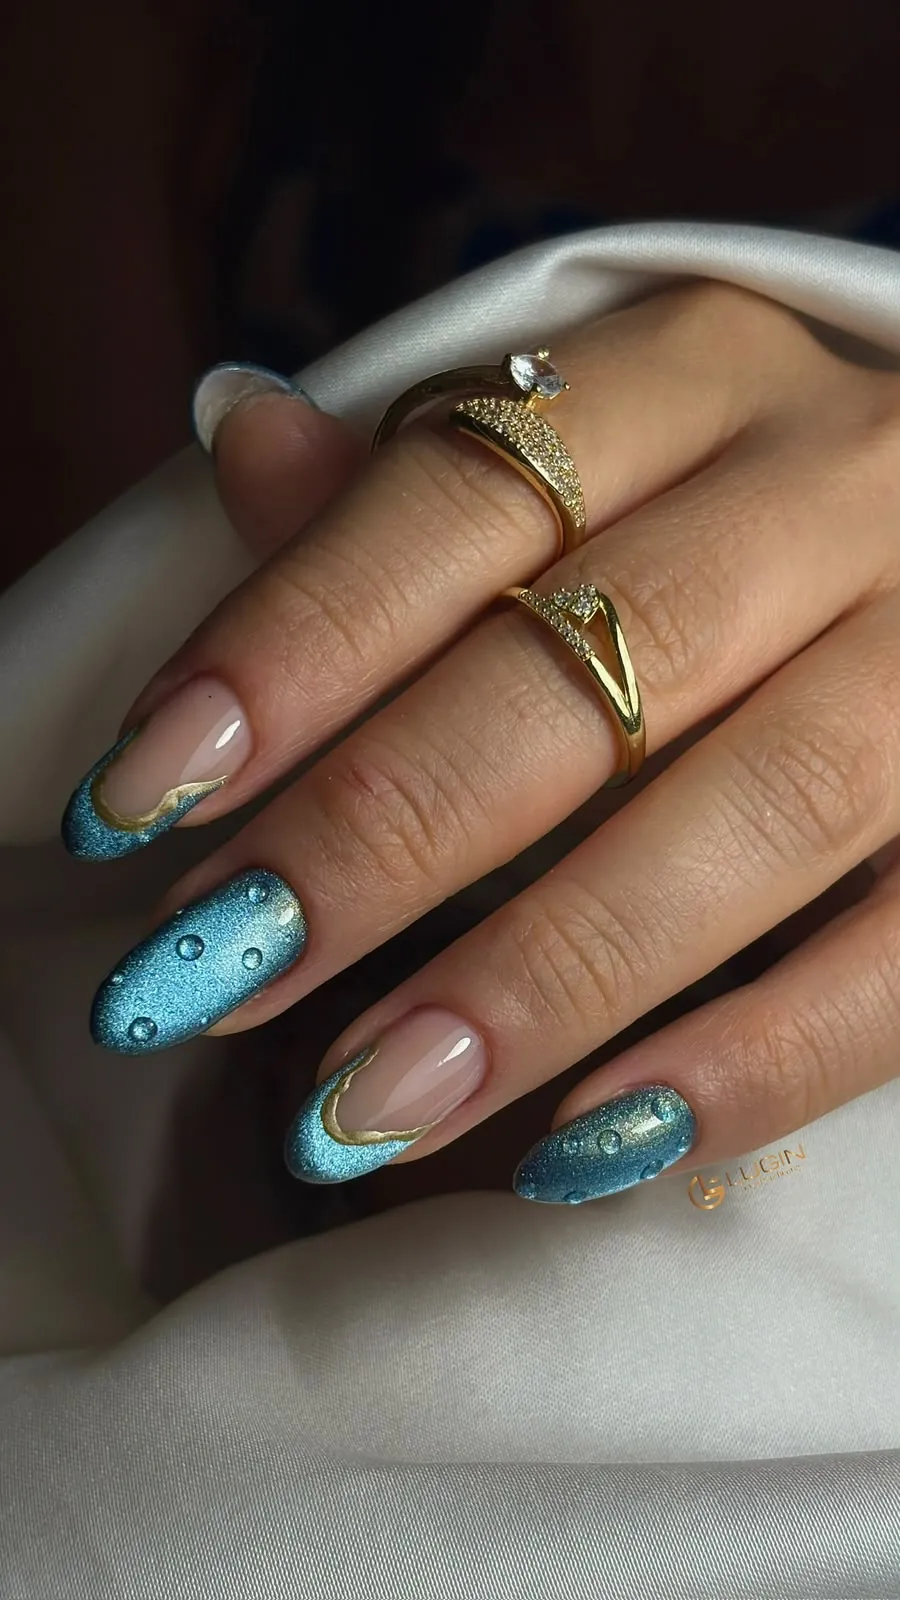
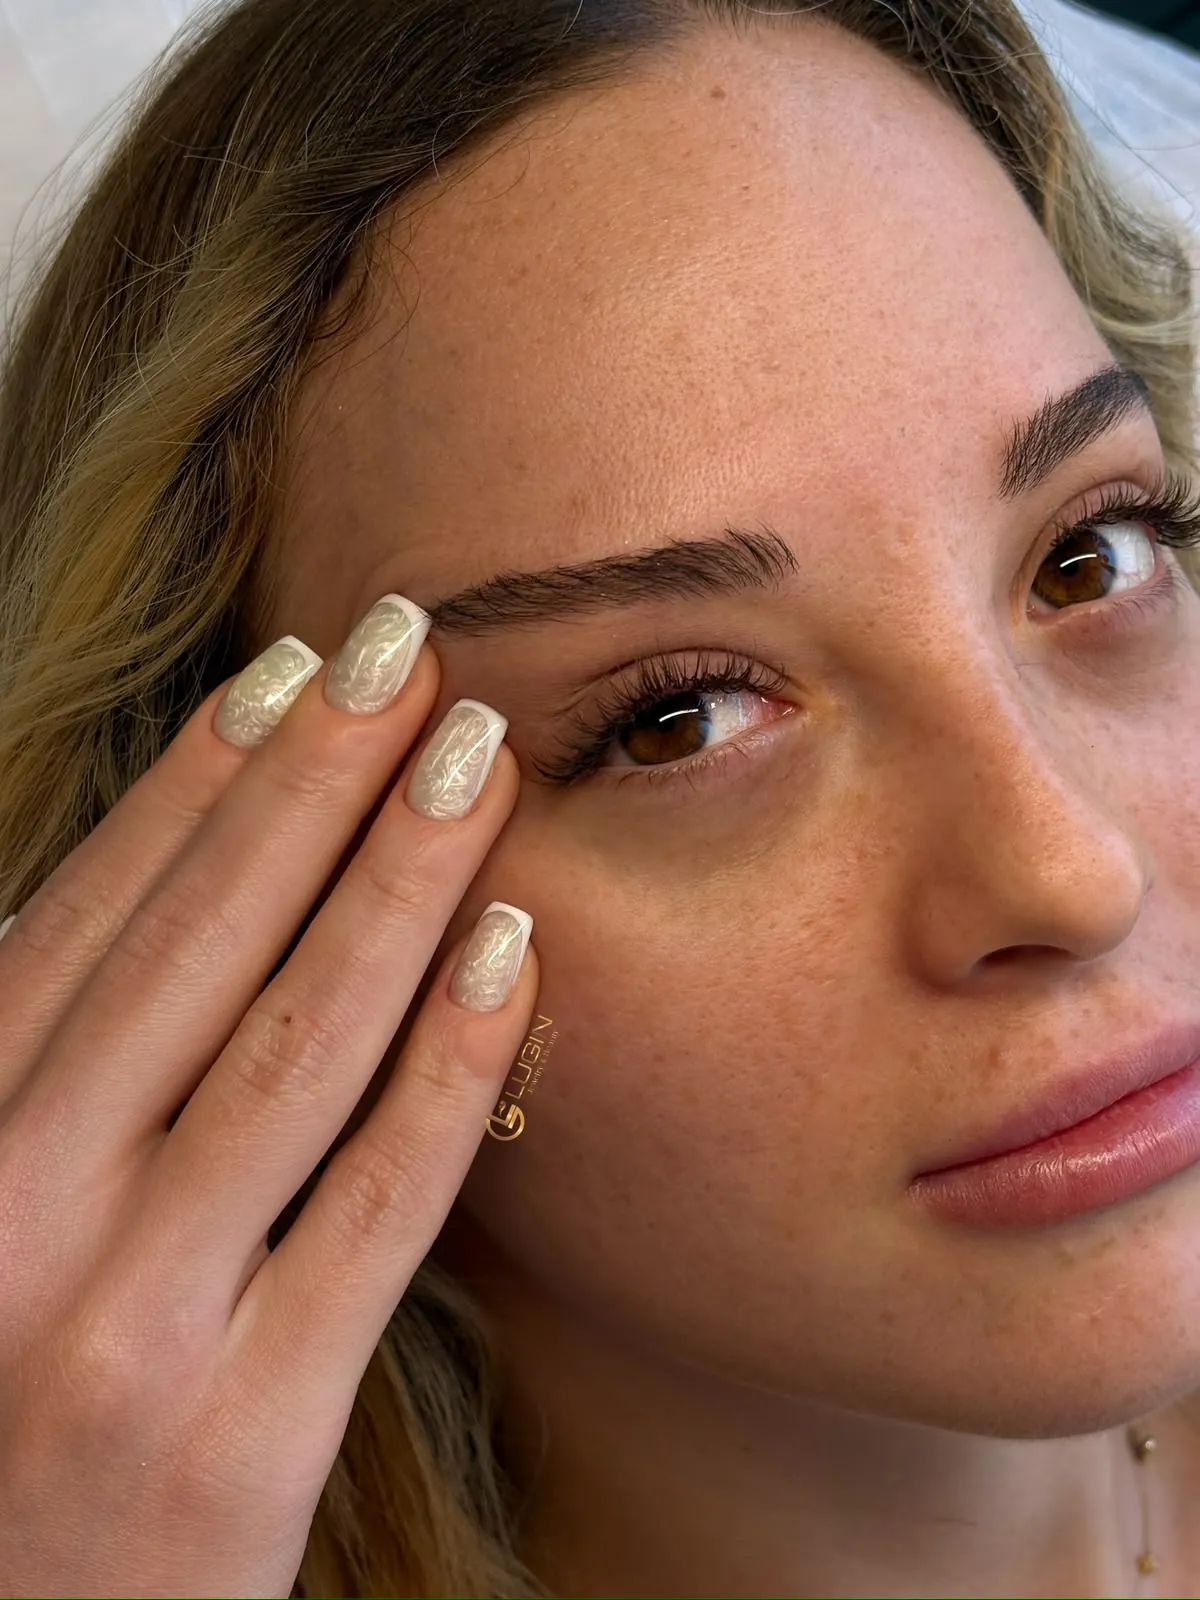
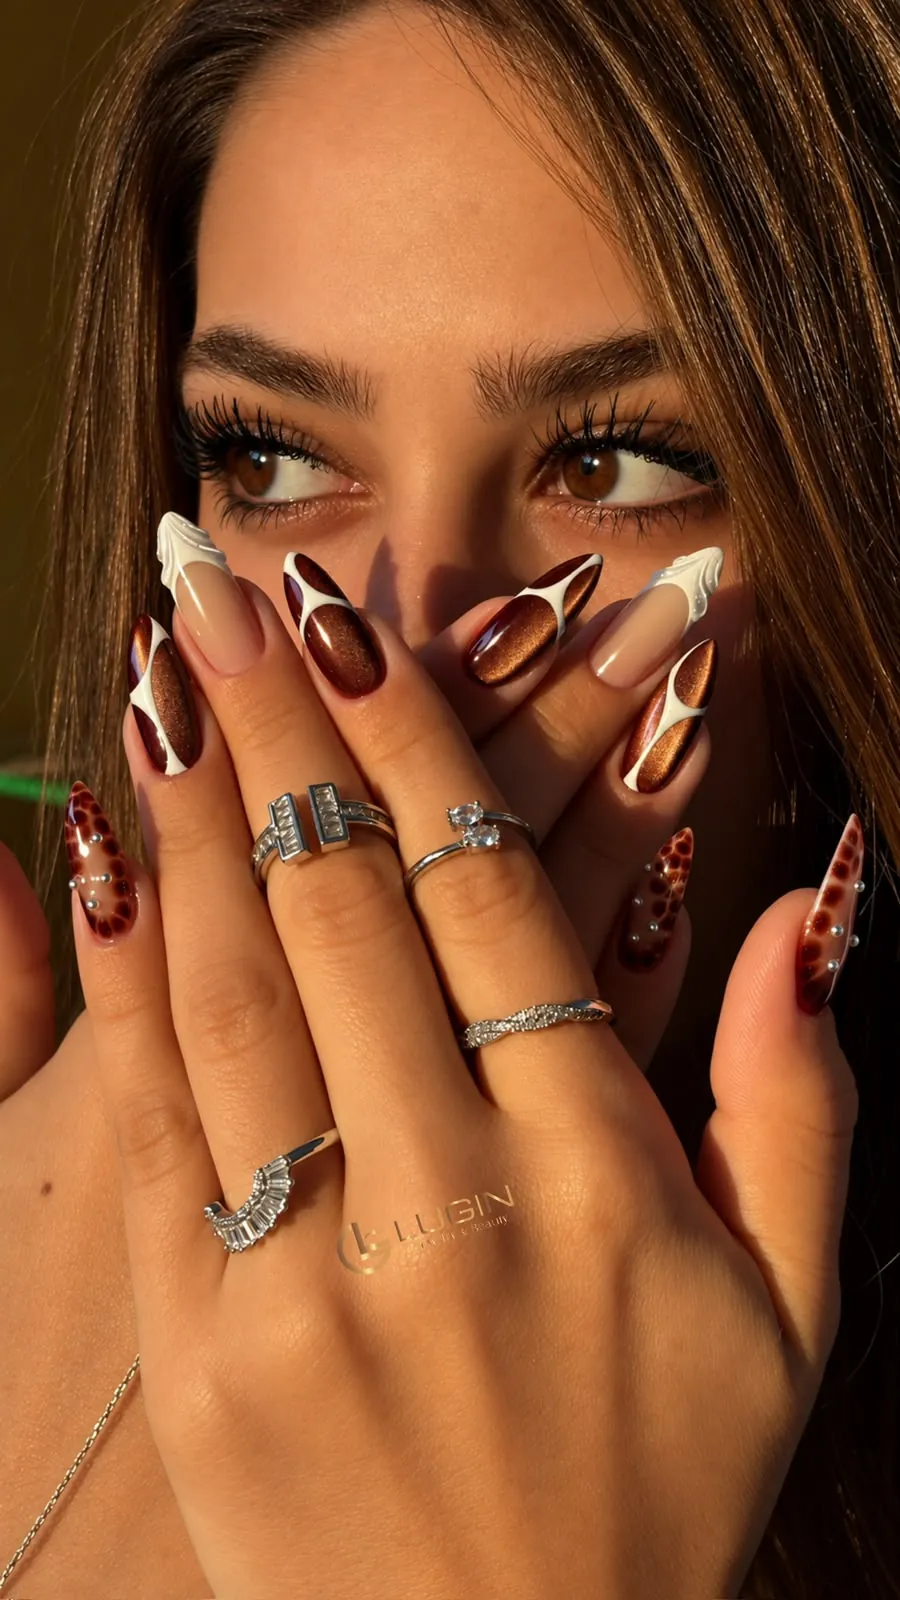
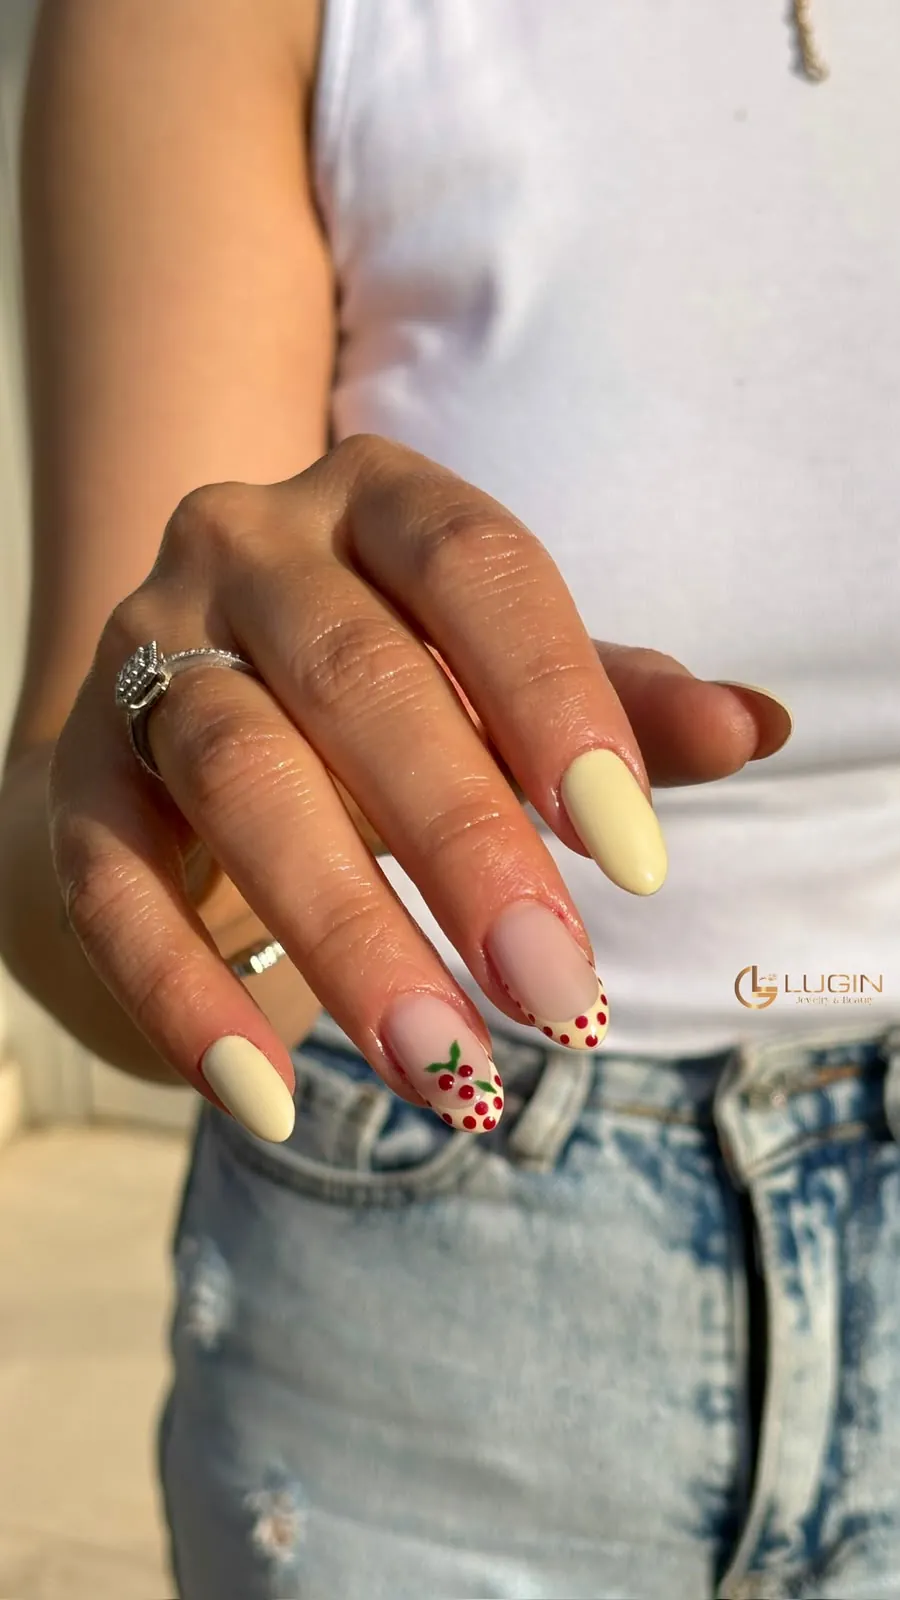
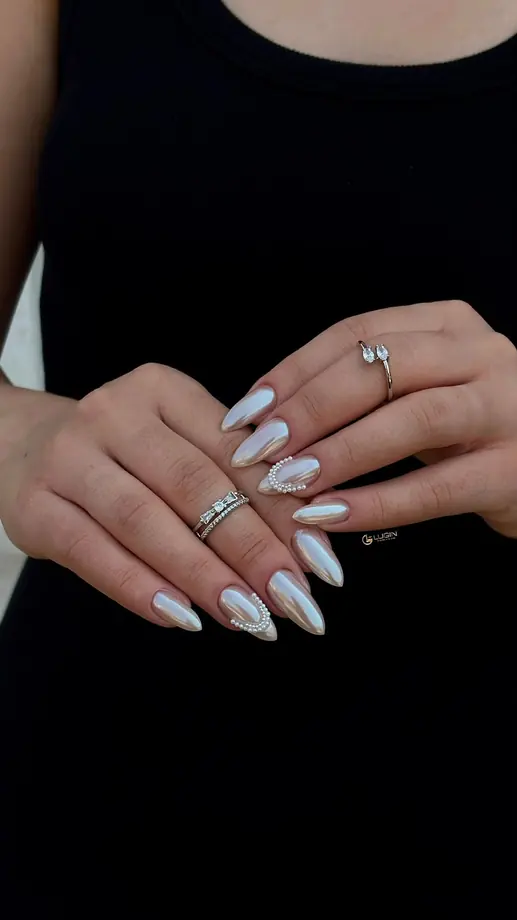
Answers to the questions we hear in the studio every day: how to protect your nails, brows and lashes between appointments, which treatment will suit you, and how to choose your design.
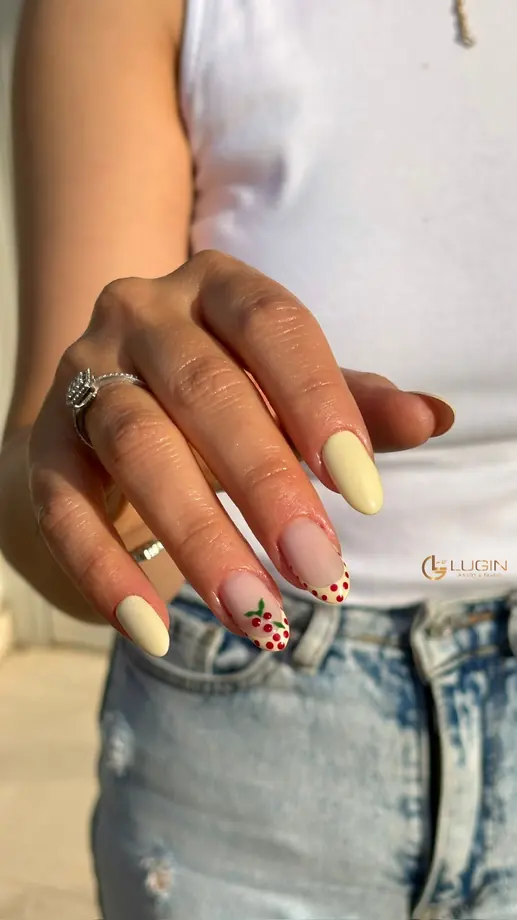
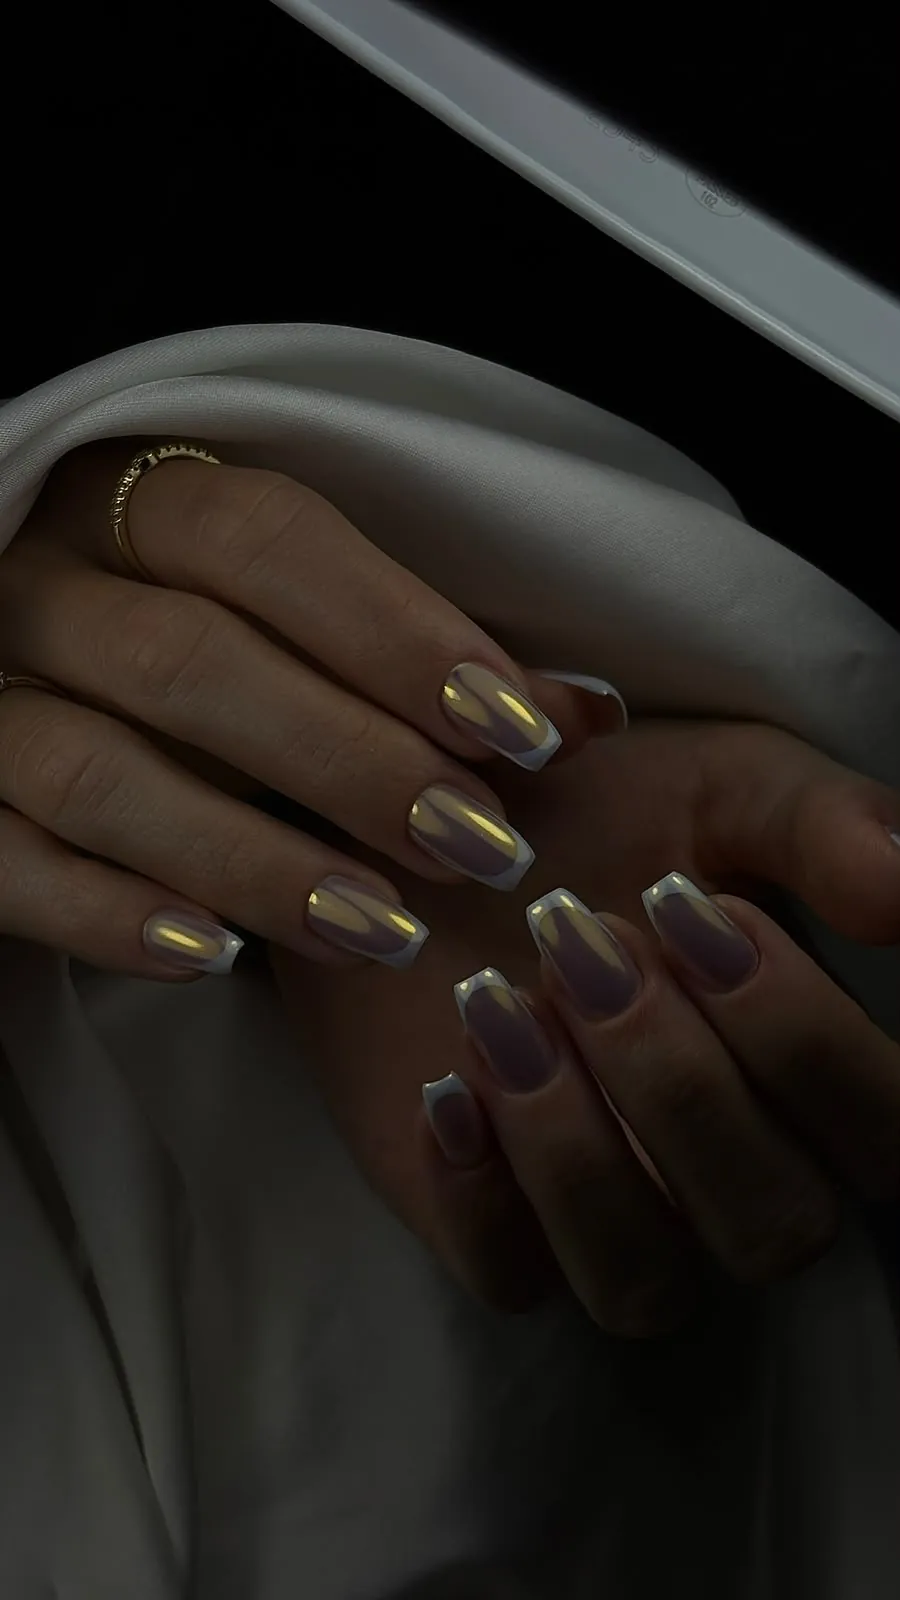
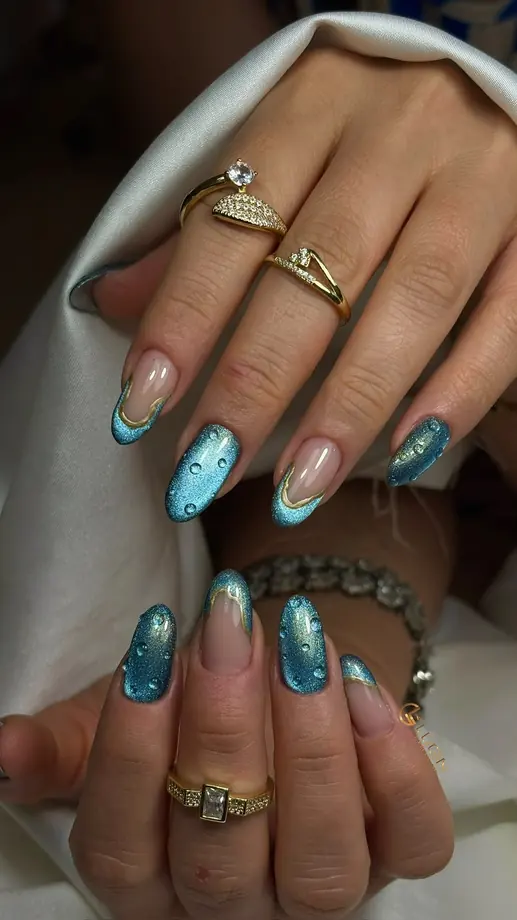
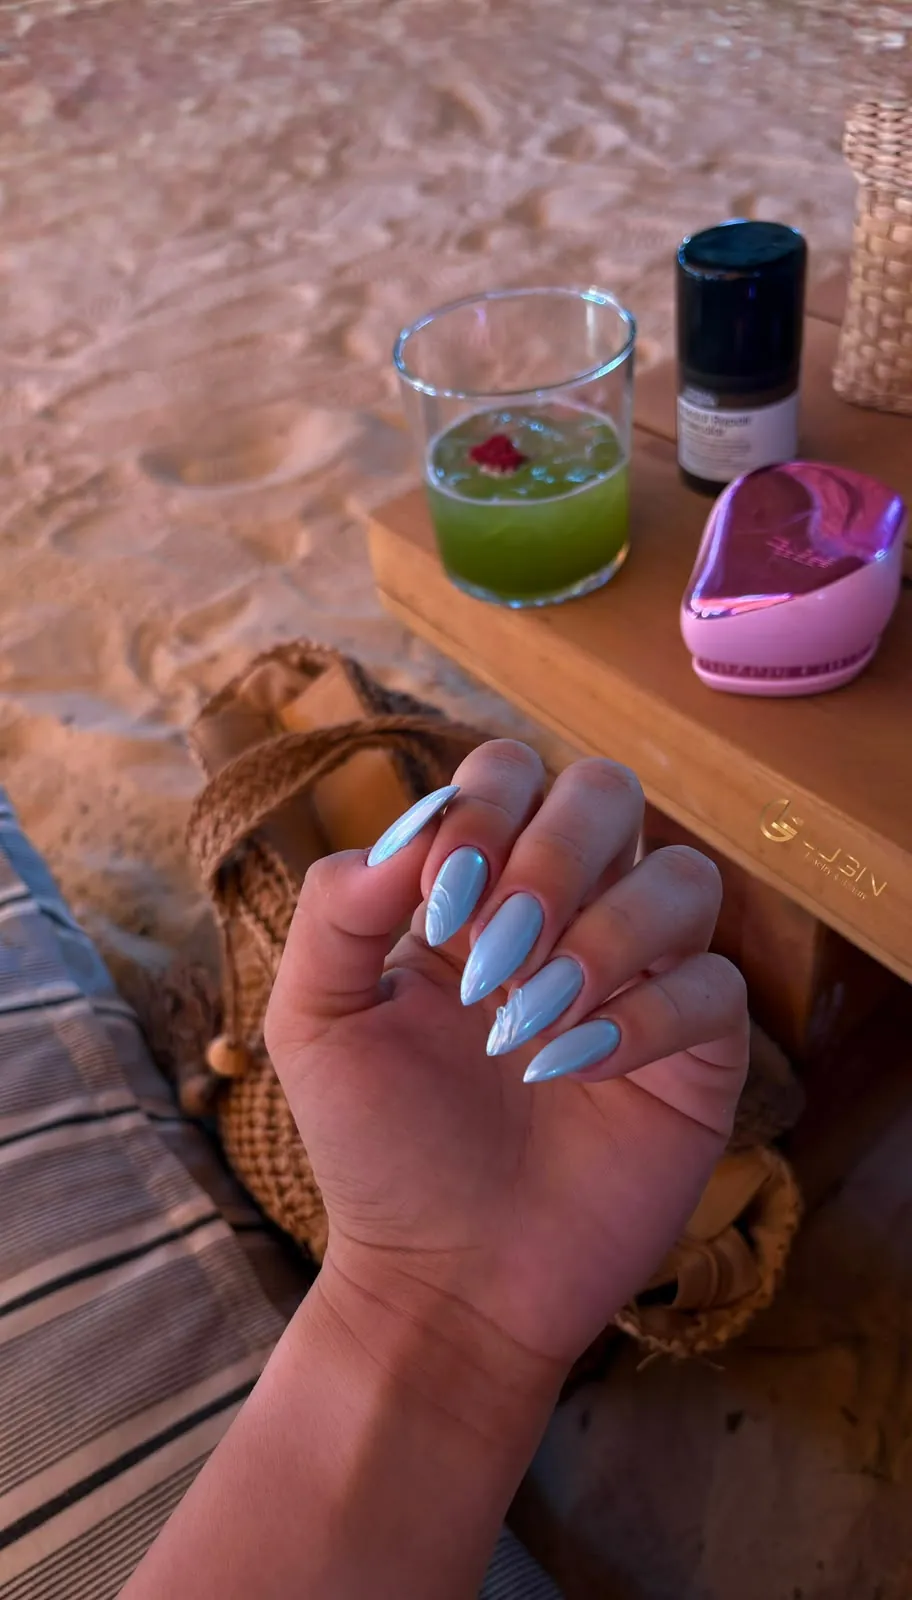
Classic French and turquoise cat eye; with the right care, both look first-day fresh for weeks.
Applied correctly and given a little care, gel polish usually keeps its first-day shine for two to three weeks. If it doesn't last that long, the cause is rarely the polish itself — it's usually the small habits of the days after your appointment.
The sentence we hear most in the studio is: “Mine always lifts on the third day.” In this post we explain, step by step, why gel polish lifts, what to watch out for in the first days, and how to protect your nails until your next appointment.
Why does gel polish lift?
Gel polish is a gel-based product applied to the nail in thin layers and cured under a special lamp. To bond, the nail surface must be clean, oil-free and dry; we take care of that preparation during the application. After your appointment, these are the main factors that decide how long it lasts:
Water and heat: Nails expand slightly as they absorb water and contract as they dry. Long contact with hot water amplifies this movement and makes the polish separate at the edges.
Chemicals: Detergents, bleach and products containing acetone dull the surface of the polish and soften its edges.
Knocks and levering: Using your nails as tools creates micro-cracks at the tips of the polish.
Dry cuticles: Dry, hard cuticles put pressure on the edge of the nail, which can make the polish lift at the base.
The first 24 hours: the most delicate time
Although the polish is cured under the lamp, the nail and the skin around it are still sensitive on the first day. That's why for the first 24 hours we recommend:
Avoid very hot showers, baths, saunas and hammams.
Save rich, oily hand creams for the next day; a light cream is enough.
If you plan to swim in a pool or the sea, wait a day if you can. We know that's hard to stick to in Güzelbahçe in summer — at least get through the first few hours.
Small but effective everyday habits
Make friends with gloves. Wearing gloves for washing up, cleaning and gardening noticeably extends the life of your gel polish. It protects the skin on your hands too — two birds with one stone.
Don't use your nails as tools. Scraping off labels, opening cans or lids, and typing with your nail tips all strain the polish at the edge. Getting used to using the soft pad of your fingertip takes a few days, but you'll see the difference right away.
A drop of oil every evening. A few drops of cuticle oil keep the skin soft and preserve the nail's flexibility. A flexible nail stands up better to knocks — it bends rather than breaks.
Protect the shine. Sunscreen, perfume and some hand sanitisers can dull the surface over time. Washing your hands or wiping the nail surface after using them is enough.
A note from the studio
If you see a corner starting to lift, don't pull it and don't try to glue it back. Pulled polish takes the top layers of your natural nail with it. Message us — a single-nail repair takes just a few minutes.
When should you refresh it?
Even if the polish is intact, your nails keep growing. Usually after about three weeks a visible gap forms at the base and the nail's centre of gravity shifts towards the tip, which raises the risk of breakage. Refreshing at around three weeks is best for both looks and nail health.
Why should removal be done in the studio?
Gel polish scraped or filed off at home thins the nail and makes it sensitive. In the studio we remove the polish layer by layer, in a controlled way, then nourish the nail to prepare it for the next application. If you'd like a break, we recommend resting your nails for a few weeks after removal with just cuticle oil and a strengthener.
Two ways to change your gaze: lift your own lashes or add silk fibres to them.
Both aim for a more defined, groomed look, but their methods, results and upkeep are quite different. Which one suits you depends on the look you want and the nature of your own lashes.
What is a lash lift (lash lamination)?
A lash lift curls your own lashes upwards from the root and sets that curl. Nothing is added to your lashes; the ones you have simply look curlier, longer and more open. Your eyes stay closed during the treatment, which is usually very comfortable — many of our clients see it as a short rest.
The result usually lasts a few weeks, depending on your lashes' natural cycle. As lashes renew, the curl fades gradually; there's no sudden “end” moment.
What are silk lashes?
With silk lashes, fine synthetic lashes are applied one by one to each of your natural lashes, changing their length, density and curl. In the studio we work with three main densities:
Classic natural: One silk lash per natural lash. A natural yet defined look that seems groomed even without make-up.
Volume: A light fan of several fine lashes on each natural lash. A fuller, softer frame.
Mega volume: Denser fans for the fullest, most dramatic result. For special occasions and anyone who loves a bold look.
On top of these, a wet-look effect can give lashes a glossy texture with gathered tips, or coloured lash wisps can add a fine touch of colour that catches the light.
Which one is for you?
If your lashes are long enough but grow straight, a lash lift is often all you need.
If your lashes are short or sparse and you want a fuller look, silk lashes are the better fit.
If low maintenance and a completely natural result matter most, choose a lift; if you want to wake up ready without make-up and with noticeable density, silk lashes stand out.
If you love mascara, a lash lift makes a great base. With silk lashes you won't need mascara — and we'd recommend not using it.
The first 24–48 hours
After either treatment, keep lashes dry on the first day and away from steam and strong heat. This period matters for how long the result lasts. Not sleeping face-down and not rubbing your lashes are the golden rules of the first days.
To make silk lashes last longer
Avoid oil-based make-up removers; oil weakens the adhesive.
Gently brush your lashes every morning with a clean spoolie.
Don't use an eyelash curler; silk lashes are already curled.
Because of the natural lash cycle, refresh the look with an infill appointment every few weeks.
Don't remove silk lashes yourself
Silk lashes pulled off can take your natural lashes out by the root. When you'd like a break, we remove them gently in the studio with a special remover that doesn't harm your lashes.
If you can't decide
At your appointment we look together at the length and density of your lashes and your eye shape, and recommend the method that suits you best. Sometimes the best answer is “a lift for now, silk lashes for a special day”.
Brows frame the face; even a few millimetres change your whole look.
Brows frame the face. A difference of a few millimetres can soften or harden your expression, and make your face look fresher or more tired. Golden ratio brow shaping is a measurement-based method developed so that this difference is never left to chance.
How it differs from standard shaping
In standard brow shaping, the shape follows the line of your existing brow and is judged by eye. For brows that are already balanced, it's often quick and perfectly adequate. With the golden ratio method, the face is measured first, the brow is mapped to those measurements, and the shaping stays faithful to that line.
How is it measured?
The treatment starts by setting three key points:
Starting point: Found with an imaginary line running straight up from the side of the nose. It decides how close together your brows begin.
Arch point: Where a line from the side of the nose through the outer edge of the pupil meets the brow. It's the highest point of the brow — the part that brings openness and life to your gaze.
End point: The continuation of the line from the side of the nose to the outer corner of the eye. It shows where the tail of the brow should end.
These points are marked lightly on the brow, the line between them is drawn, and only then is shaping done. This also balances small asymmetries between the two brows.
Why does it make a difference?
Every face has different proportions. The same brow shape won't suit a long face and a round one; one may need a straighter line, the other a more pronounced arch. A brow set by measurement looks in harmony with your features. The result isn't exaggerated — it's a confident, balanced look. Most of our clients describe the difference as “my face opened up”.
Together with lamination
If your brow hairs grow unevenly, lie flat downwards or leave gaps, combining golden ratio shaping with brow lamination makes brows look fuller and neater. Lamination sets the hairs in the desired direction; for a few weeks, a quick brush in the morning is all you need.
Before your appointment
For the best result, please don't tweeze your brows yourself for a few weeks before your appointment. The more hairs there are, the more freely we can build the ideal shape. The “untidy” phase in between is a small investment in the result.
Afterwards
There may be some brief, mild redness after shaping; it usually fades quickly.
On the first day, it's best to let the skin rest rather than wearing heavy make-up, sunbathing or using a sauna.
Regular upkeep every few weeks helps the brows grow without losing their line.
Upper lip and small areas
You can add small areas such as the upper lip to your brow appointment. These quick treatments are done in one go, with no need for a separate appointment.
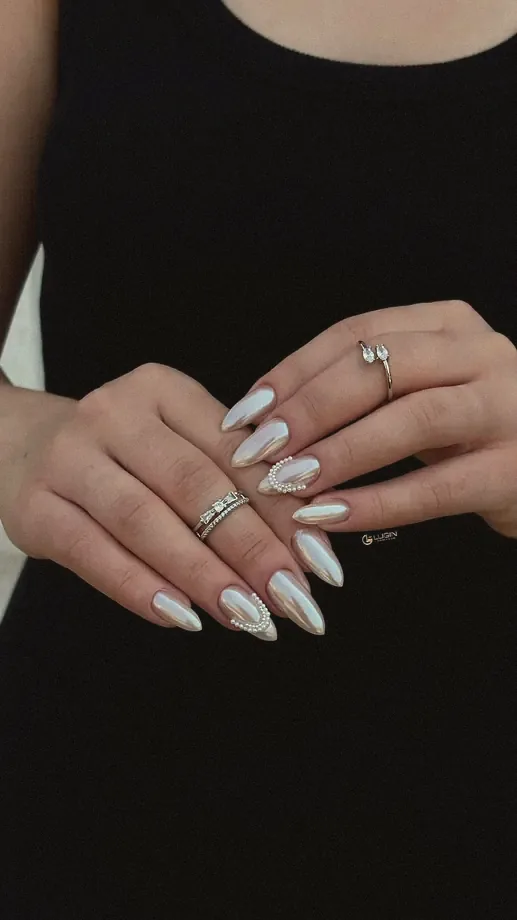
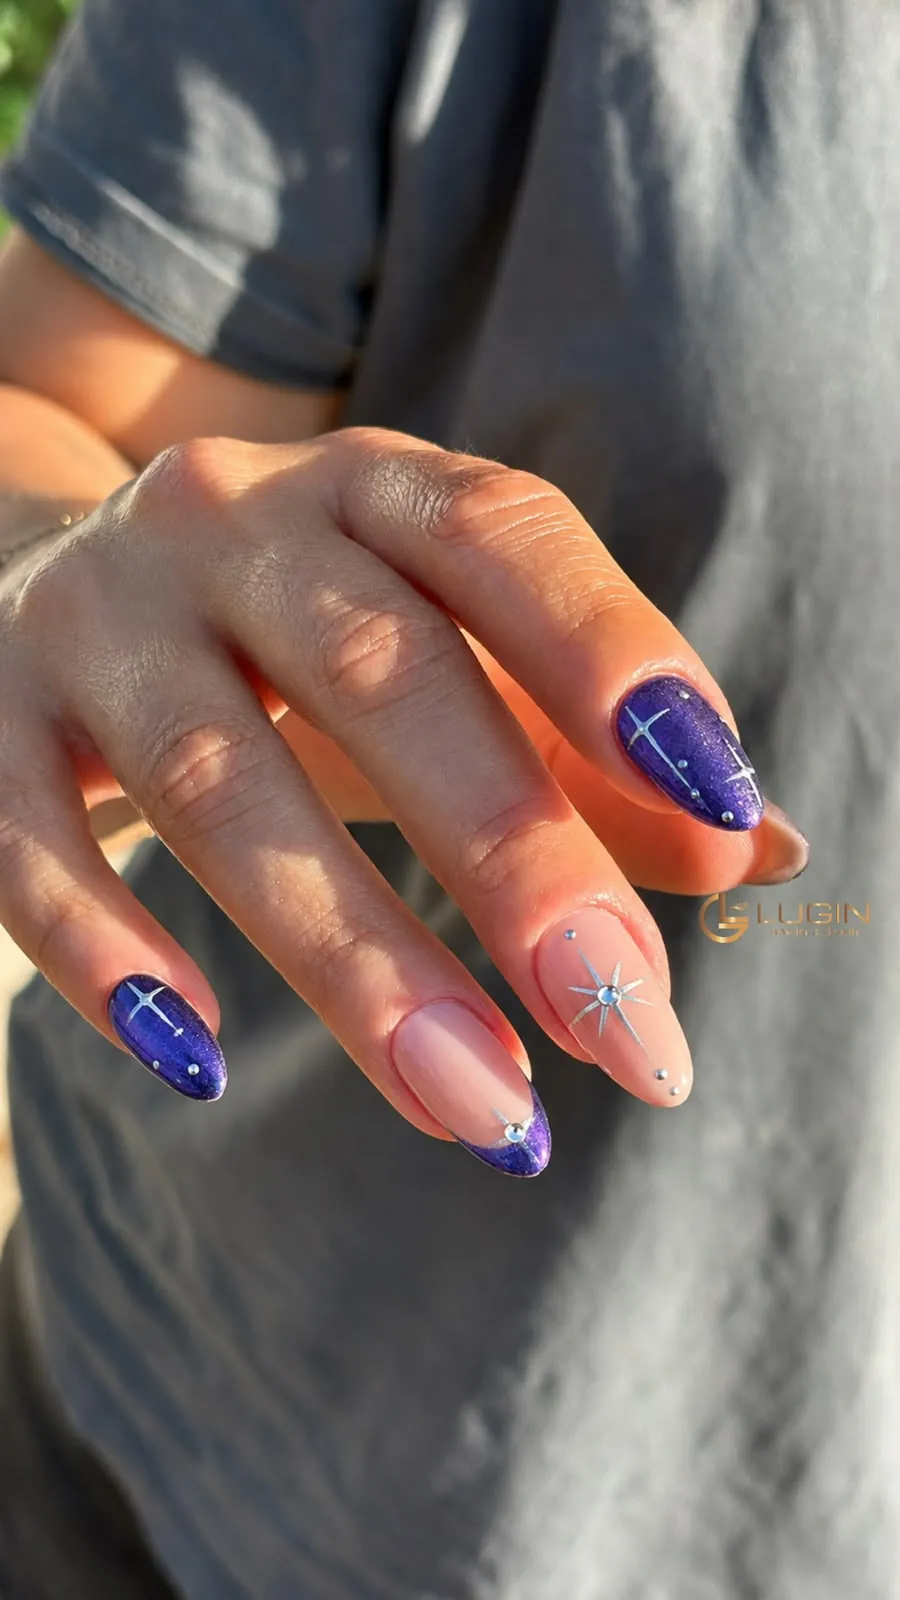
Long almond shape and chrome reflections: the wide design canvas extensions offer.
Both give your hands a groomed, tidy look, but they meet different needs. When deciding, ask yourself one question: do I want longer nails, or do I want my own nails to be stronger?
Nail extensions
Extensions give you the length and shape you want regardless of your natural nail length. Even those with short or broken nails can have long, shaped nails. Because they offer a wide, smooth surface for nail art, they're a popular choice for bold designs.
Who they suit: Anyone who wants length and a defined shape, those with short or uneven nails, and anyone who wants eye-catching hands for a special day.
Shape options: Almond, oval, square, squoval and stiletto.
Upkeep: As nails grow, the gap at the base is filled in with an infill every few weeks.
Gel strengthening
Gel strengthening applies a thin layer of gel over the natural nail. It doesn't change the length; it makes the nail resistant to breakage and gives your natural nail the chance to grow out healthily. Ideal for nails that break easily, peel or are soft.
Who it suits: Anyone who wants to grow their own nails, those who love a natural, understated look, and anyone tired of constantly breaking nails.
Look: Thin and natural; combined with gel polish, nails look both strong and glossy.
Side by side
Length: As long as you like with extensions; as long as your own nail with gel.
Naturalness: Gel is more natural; extensions are bolder and more shaped.
Design space: With their longer surface, extensions offer a bigger canvas for nail art.
In the long run: Gel strengthening supports your natural nail as it grows out.
Your natural nail's health comes first
Whichever you choose, two rules never change: don't leave upkeep too long, and have removal done in the studio. Extensions or gel pulled off at home thin the natural nail layer by layer.
If one nail breaks
One broken nail doesn't mean redoing the whole set. With a single-nail extension or repair, the broken nail is rebuilt to match the length and design of the others.
Still undecided?
At your appointment we look together at the structure of your nails, your daily routine and the look you want, and recommend what suits you. Sometimes the best path is to restore the natural nail with gel strengthening first, then move on to extension length if you wish.
A nail art glossary: chrome, cat eye and pearl powder
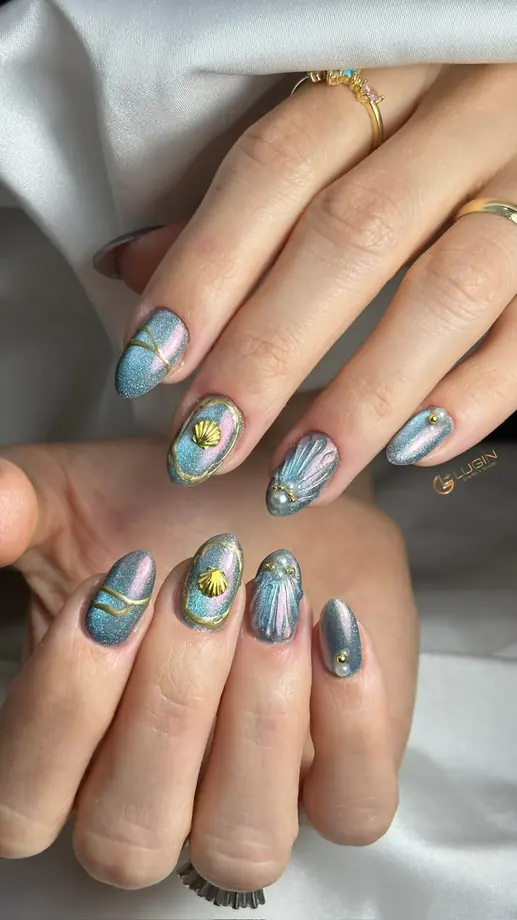
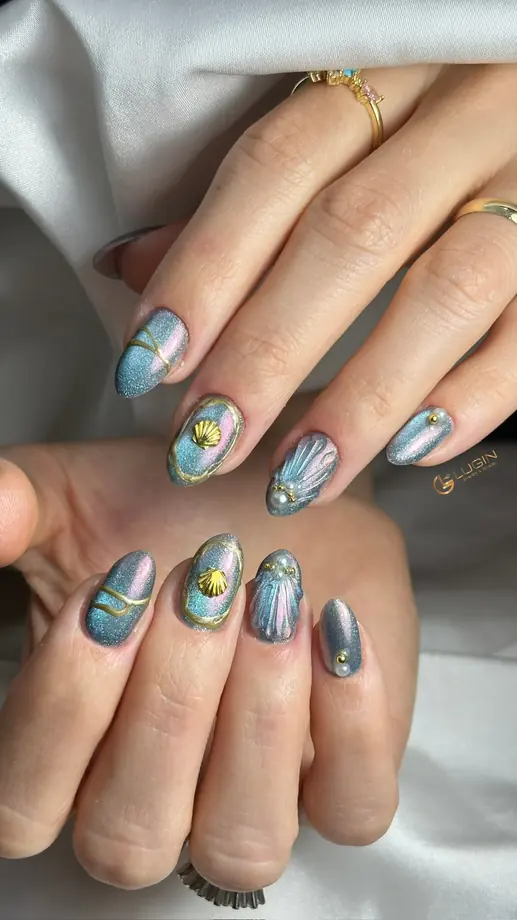
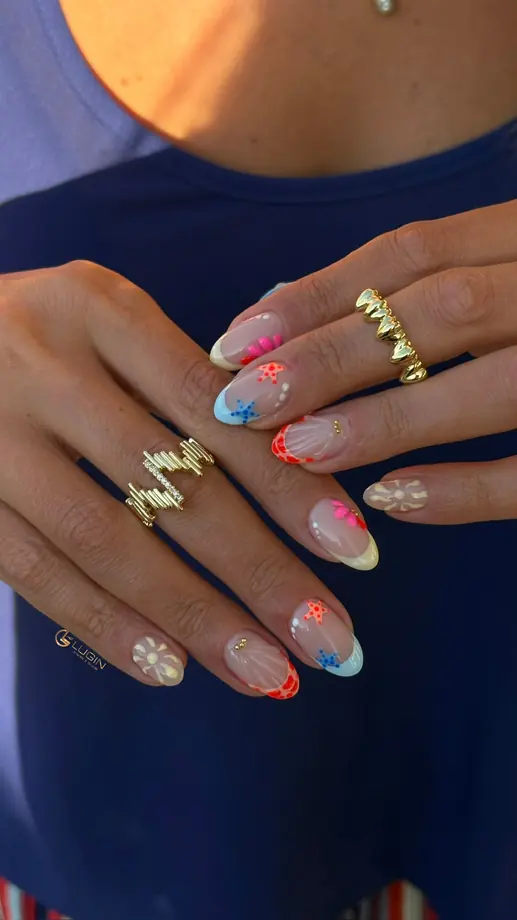
Hand-painted seashell motifs and turquoise cat eye; two different techniques on the same hand.
Nail art is our studio's signature. But to answer “chrome or cat eye?”, it helps to know what these techniques actually are. This post is a small glossary to help you clarify your idea before your appointment.
Chrome and mirror effect
Chrome is a metallic, mirror-like surface created by rubbing a fine pigment powder over gel polish. When the light hits it, the nail practically glows. Silver, gold, dusty rose and pearl tones are the favourites. It can cover the whole nail, or be used just on the tips or in fine lines.
Who it suits: Anyone who wears their rings and jewellery as part of their hands. Chrome creates a complete look together with gold and silver jewellery.
Cat eye
Cat eye is made with a special polish containing magnetic particles. Before the polish cures, the particles are guided with a magnet, creating a beam of light inside the nail that resembles a cat's eye and seems to move with the angle. It's stunning in deep shades such as turquoise, emerald and midnight blue.
Who it suits: Anyone who loves a single colour but doesn't want it to be ordinary. Understated from afar, mesmerising up close.
Pearl powder (pigment)
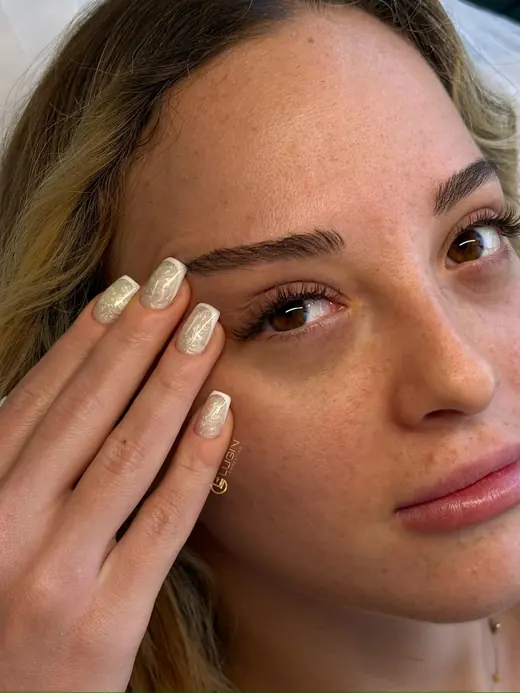
Pearl powder isn't as mirror-like as chrome; it gives a softer, nacreous shimmer that diffuses the light. Combined with a nude, pale pink or milky white base, nails look like the inside of a seashell. A favourite of brides and lovers of understated elegance.
French and its new forms
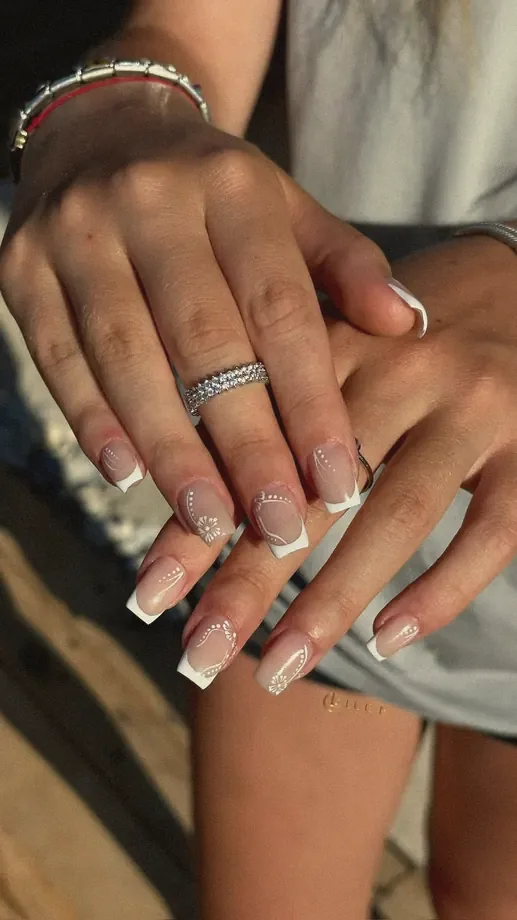
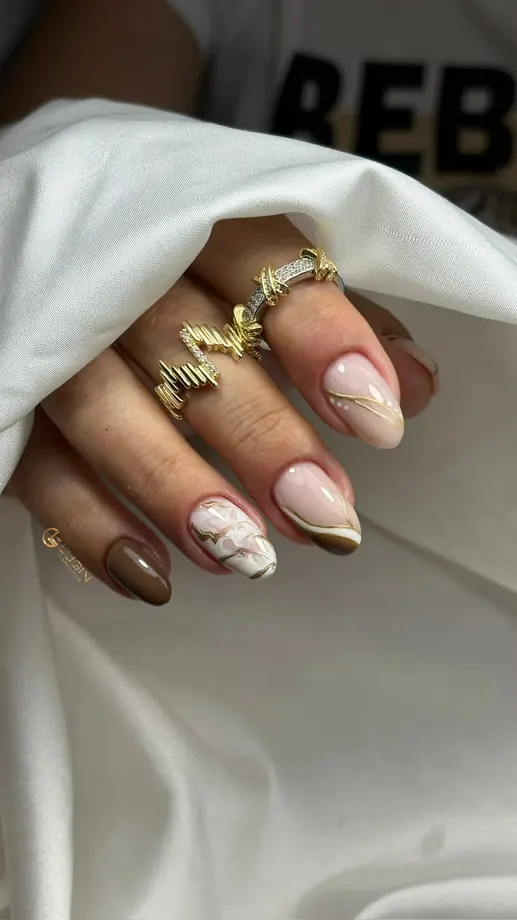
Classic French means fine white tips on a natural base. Today there are many takes on French: coloured tips, tips with a fine gold line, double-line French, or a “deep French” made with cat eye. Ideal for adding a small surprise to a classic base.
Hand-painted designs
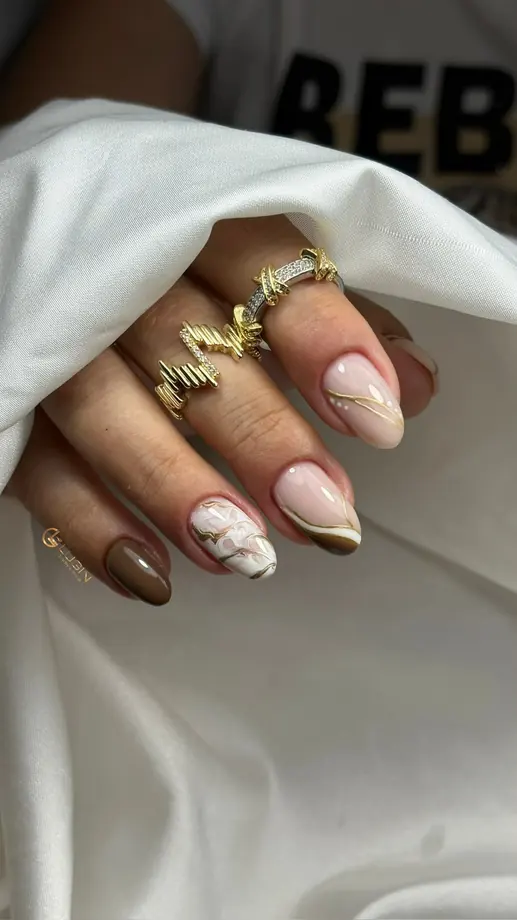
Motifs painted one by one with a brush: flowers, waves, lines, polka dots, seashells, little fruits. You can put a different motif on each nail or choose a single “accent nail”. Hand painting is the most personal form of nail art; the same design is never repeated.
Stones and accessories
Small stones, pearls and metal details add three-dimensional sparkle to a design. For comfort in daily life, we usually recommend keeping them to one or two nails.
How to prepare for your appointment
Save a few photos you like on your phone — but you don't have to ask for “exactly this”. The most beautiful designs are often born from the colour in one photo meeting the line in another. Thinking about your jewellery and any special outfit you'll wear that week also helps guide the design.
Seasonal suggestions
Spring and summer: Pastel French, coloured tips, floral and fruit motifs, turquoise cat eye, sea themes.
Winter and special nights: Silver chrome, glitter finishes, deep cat eye, stone details.
How long does nail art take?
It depends on how detailed the design is. A single accent nail takes a few minutes, while a set with a different hand-painted design on every nail can take much longer. If you briefly describe your design in your booking request, we'll set aside enough time for you.
The same design looks completely different in another shape.
As much as colour and design, the shape of the nail determines the overall look of the hand. The right shape can make fingers look longer and slimmer; the wrong one can overshadow even the most beautiful design.
Almond
A shape that tapers softly at the sides with a rounded tip. It makes fingers look long and elegant and suits almost every hand. The most popular shape in our studio — comfortable in daily life and an ideal surface for nail art.
Oval
Similar to almond but fuller and softer in line. It looks very natural at short and medium lengths. It resists breakage, making it a safe choice for anyone who types a lot or works with their hands.
Square and squoval
A straight-tipped square gives a modern, crisp look and is the classic choice for French. A square with softly rounded corners keeps the same crispness while reducing the risk of snagging and breaking. Especially chic on long, slender fingers.
Stiletto
A pointed, bold and dramatic shape. Striking for special occasions and eye-catching designs, though it can take some getting used to in daily life. Usually done with extensions.
By finger shape
Short fingers: Almond and oval shapes visually lengthen the fingers.
Long, slender fingers: Square and squoval look balanced and modern.
Wide nail bed: A gently tapering almond makes the nail look slimmer.
By daily life
When choosing a shape, think not only about looks but about how your day goes. If you work at a keyboard, look after small children or do hands-on work, a short-to-medium oval or almond will be the most comfortable option.
If you can't decide
At your appointment we look at your fingers and nail bed, suggest two or three shapes and, if you like, try a quick version with the file first. Seeing is always easier than describing.
Lamination sets brow hairs in the desired direction for a fuller look.
Imagine looking in the mirror in the morning and finding your brows brushed, full and perfectly in place. That's exactly what brow lamination does: it guides your own brow hairs in the desired direction and sets them there.
What does lamination do?
Brow hairs are softened with a special solution, brushed in the desired direction and set that way. As a result, brows that lie flat, grow unevenly or show gaps look fuller, neater and more voluminous. The treatment uses your own hairs; nothing is added.
Who is it for?
Anyone whose brow hairs grow unevenly or lie downwards,
Anyone who wants fuller-looking brows,
Anyone tired of brow gel and pencils every morning,
Anyone who loves a modern brow that looks natural yet “done”.
How does the treatment work?
Consultation and analysis: We look together at the structure of your brows and the look you want.
Softening and shaping: The hairs are softened and brushed in the desired direction.
Setting: The shape is set, then the hairs are nourished.
Finishing touch: If needed, the shape is completed with golden ratio measured shaping.
Together with the golden ratio
Lamination gives brows volume and direction; golden ratio shaping makes sure the shape suits your face. Doing both together is the most effective way to get brows that are full and in harmony with your features.
The first 24 hours
On the first day after lamination, we recommend keeping your brows dry, away from steam and strong heat, and free of make-up and rich creams. Don't rub them; a gentle brush with a brow spoolie in the morning is enough.
Aftercare
Brush your brows up and out every morning with a clean brow spoolie.
Applying a few drops of a nourishing product to the hairs in the evening helps keep them healthy.
When you notice the effect starting to fade, plan a new appointment; it's important to give the hairs time to rest between treatments.
Beautiful hands and feet are kept that way by small habits between appointments.
The treatment in the studio is only half the story. The other half is the small care you give at home between appointments. The good news: a few minutes a day is enough.
Daily routine for hands
Moisturise, but wisely: Apply a light cream every time you wash your hands. A richer cream before bed and a few drops of oil on the cuticles show the difference by morning.
Don't forget the sun: We put sunscreen on our faces but often forget our hands. Applying sun protection to the backs of your hands, especially in summer, reduces pigmentation.
Don't cut your cuticles: Cutting cuticles at home raises the risk of infection and can make them grow back harder. Softening them with oil and gently pushing them back is enough.
Weekly routine for feet
Warm water and a short soak: Once a week, soak your feet in warm water for a few minutes.
Gentle exfoliation: Buff away hardened skin on the heels and edges with a gentle scrub; stay away from harsh files and blades.
Intense moisture: Then apply a rich foot cream and leave it on overnight under cotton socks.
If your heels are very dry
Rather than harsh treatments at home, we recommend starting with a Moisture Bomb Peeling in the studio. Intense moisture softens hardened skin, making your home routine much easier to keep up afterwards.
If you need to shorten your nails
Don't cut gel-polished or extended nails with scissors; it causes cracks in the polish and the nail. If you really need to, shorten them gently with a fine file in one direction — or drop by and see us.
In summer
Sea, pool and sun dry out both skin and nails. Rinsing your hands and feet with fresh water after the sea and moisturising preserves the shine of your gel polish and the softness of your skin. In Güzelbahçe, this routine will be your best friend all summer.
When should you come to the studio?
For gel polish, usually every three weeks,
For extensions and gel strengthening, upkeep every few weeks,
For pedicures, once a month or every two months depending on the season.
To make scheduling easier, you can book your next appointment as you leave.
Under Turkey's Personal Data Protection Law No. 6698 (“KVKK”), your personal data is processed by [BUSINESS TITLE] (“Lugin Beauty”) as data controller, within the scope described below. Address: Yalı Mahallesi 101 Sokak No: 23/A Güzelbahçe / İzmir. Phone: +90 507 766 78 50. Email: luginbeauty@gmail.com
2. Personal Data We Process
Through the booking form we process your name and surname, phone number, the service, specialist, date and time you choose, your preferred language and any note you send us. To keep the website secure, technical records such as your IP address and the time of the request are also kept for a limited period. Please do not include health information in the note field; if you have a sensitive condition relevant to the service, you can tell your specialist in person at your appointment.
3. Purposes of Processing
Your personal data is processed to receive, review and confirm your booking request; to contact you by phone or WhatsApp about your appointment; to provide the service you request; to plan appointments; to fulfil our legal obligations; and to keep our website secure.
4. Legal Grounds
Your data is processed on the legal grounds set out in Article 5(2) of the KVKK: that it is directly related to the conclusion or performance of a contract (paragraph c), that it is necessary for the data controller to fulfil a legal obligation (paragraph ç), and the data controller's legitimate interests, provided this does not harm your fundamental rights and freedoms (paragraph f).
5. Method of Collection
Your personal data is collected partly by automated means, when you provide it through the booking form on our website, by phone or via WhatsApp.
6. Transfers
Your personal data is never shared with or sold to third parties for marketing. It may be shared, only for the purposes above, with the provider hosting our website, the email provider through which booking notifications are sent and the WhatsApp service through which confirmations are sent. As these providers' servers may be located abroad, such transfers are carried out in accordance with Article 9 of the KVKK. Where required by law, data may be shared with authorised public bodies.
7. Retention
Your appointment records are kept for [2] years from the appointment date; unconfirmed or cancelled requests are deleted within [6] months. Security logs are kept for at most [6] months. At the end of these periods your data is deleted, destroyed or anonymised.
8. Cookies
We do not use advertising or tracking cookies. Only information needed for the site to work, such as your language preference, is stored in your browser.
9. Your Rights
Under Article 11 of the KVKK you have the right to learn whether your personal data is processed; to request information if it is; to learn the purpose of processing and whether it is used accordingly; to know the third parties in Turkey or abroad to whom it is transferred; to request correction if it is incomplete or inaccurate; to request its deletion or destruction under the conditions of Article 7; to request that these actions be notified to third parties it was transferred to; to object to any outcome against you arising solely from automated analysis; and to claim compensation if you suffer damage from unlawful processing.
10. How to Apply
You can send requests regarding your rights in writing, together with information that identifies you, to our address above or to luginbeauty@gmail.com. Your request will be concluded free of charge within 30 days at the latest.